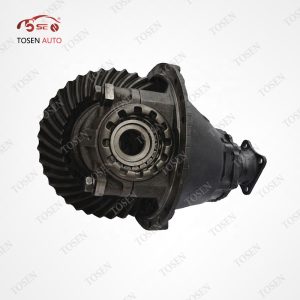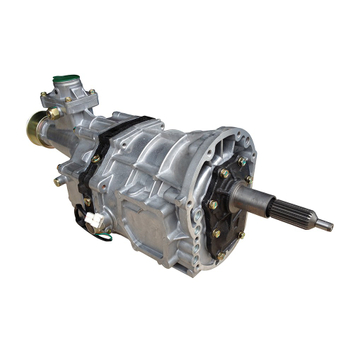
Clutch and gearbox noise on a Toyota Hiace is an audible symptom that originates either at the clutch interface in front of the manual gearbox or inside the gearbox case itself, and separating the two is the first decision a workshop makes before any part is ordered. On Hiace vans running the 3L and 5L diesel engine families, the manual gearbox is built around a small set of internal components — input shafts, counter gears, mainshafts, individual gear wheels and synchroniser components — each of which occupies a known position in the drive path. That structure is what makes noise diagnosis practical: the conditions under which a sound appears, meaning the clutch pedal position, the gear selected and the vehicle speed, narrow the search to a specific group of parts before the case is opened. This guide explains how to split clutch-side noise from in-case noise, which checks come before a teardown, which part sits behind which sound pattern, and exactly what to send TOSEN once the diagnosis points at a replacement component.
Splitting the Noise: Clutch Side or Gearbox Side
The manual gearbox fitted to these Hiace applications has a clutch housing at the front of the case that bolts directly to the engine backplate, and an input shaft that carries torque from the clutch into the case. Everything ahead of that shaft belongs to the clutch side of the boundary; everything behind it — the counter gear, the mainshaft, the individual gear wheels and the synchroniser components — lives inside the gearbox. A noise complaint therefore falls into one of two domains, and the observations that assign it are ones a driver can record without special tools.
| Recorded observation | Where the symptom points | First action |
|---|---|---|
| Noise in neutral that changes character when the clutch pedal is fully pressed | The clutch-side interface, where the clutch meets the input shaft at the front of the case | Note the exact pedal position at which the sound changes and have the interface inspected before opening the gearbox |
| Noise present only in one or two selected gears, absent in neutral | The gear wheel and synchroniser positions that come into engagement at those gears | Write down which gears are noisy and whether the sound follows engagement or road speed |
| Noise present in every gear and in neutral regardless of pedal position | The constant-running internal parts, principally the input shaft and counter gear group | Plan an internal inspection rather than a clutch-side check |
| Noise that appeared immediately after a replacement gearbox was fitted | Installation interfaces rather than internal parts: bellhousing bolt pattern, mount positions, output connection | Compare the installed unit against the original on the visible connection points before diagnosing internals |
Checks That Come Before the Case Is Opened
A structured pre-teardown check saves the cost of opening a gearbox whose noise has an external cause. The following points are the ones a workshop can see and measure on the vehicle:
- Record the conditions of every noise event: engine speed, road speed, selected gear, clutch pedal position and whether the van was loaded — the pattern across several events matters more than any single one.
- Read the gearbox label and the vehicle chassis code, and note the engine family, 3L or 5L, because the gearbox actually fitted to the van is the reference for every later part number.
- Confirm the drive layout of the vehicle as installed, because a 4×2 and a 4×4 gearbox of the same model are not interchangeable — the cases, output arrangements and mounts differ between the two.
- Inspect the bellhousing bolt pattern, the input shaft spline and the output connection against the original unit or the vehicle, since a mismatch at any of these points can generate noise and vibration that mimics internal damage.
- Check the mount locations and the gear lever position against the removed or reference unit, and confirm the speedometer drive arrangement where the installation differs.
Only when these external points check out and the noise pattern still points inside the case does a teardown become the justified next step. Skipping the external checks risks rebuilding a gearbox whose noise source was a mount, a bolt pattern or an output connection all along.
Inside the Case: Which Part Sits Behind Which Sound
The manual transmission parts range for Hiace 3L and 5L applications covers individual internal service components rather than a complete gearbox assembly, and each component has a defined role in the drive path. The input shaft carries torque from the clutch into the case; the counter gear transfers drive across the mainshaft; the synchroniser components match shaft speeds so a gear can engage smoothly; and the individual gear wheels carry the load in each selected ratio. Those roles explain why noise position and noise condition separate one component group from another: a complaint tied to engagement belongs to the synchroniser components, while a complaint tied to a single selected ratio belongs to the gear wheel at that position, and a complaint that persists across every ratio involves the constant-running shafts.
When the case is opened, the inspection follows the same sequence the noise record suggests:
- Record the gearbox code from the case and the engine family before any component is removed, so every later part enquiry rests on the unit actually fitted to the van.
- Inspect the input shaft first — the splines and the surfaces that run closest to the clutch — because this shaft turns whenever the clutch is engaged, including in neutral.
- Examine the counter gear and the mainshaft, including the bearing locations and the gear-tooth sequence, comparing both sides of the mesh rather than one surface only.
- Inspect the synchroniser components and the individual gear wheels at the positions that matched the noisy gears in the recorded observations, so the teardown confirms the diagnosis instead of replacing it.
- Take the part number or the markings from the worn component and record the tooth count, spline count and principal dimensions against the original before any replacement is ordered.
The manual transmission parts for Toyota Hiace 3L and 5L applications are selected one component at a time on exactly this basis: the gearbox code identifies the unit, and the individual part number, tooth count and spline details identify the replacement inside it.
Individual Part or Complete Gearbox?
The teardown findings decide the purchasing route. A single worn component — one synchroniser set, one gear wheel, one input shaft — justifies an individual parts order, because the rest of the unit is serviceable and the repair scope is contained. Damage that spans several positions, or findings that leave the case configuration in question, points toward a complete gearbox assembly instead, and that is a different enquiry with different identifiers.
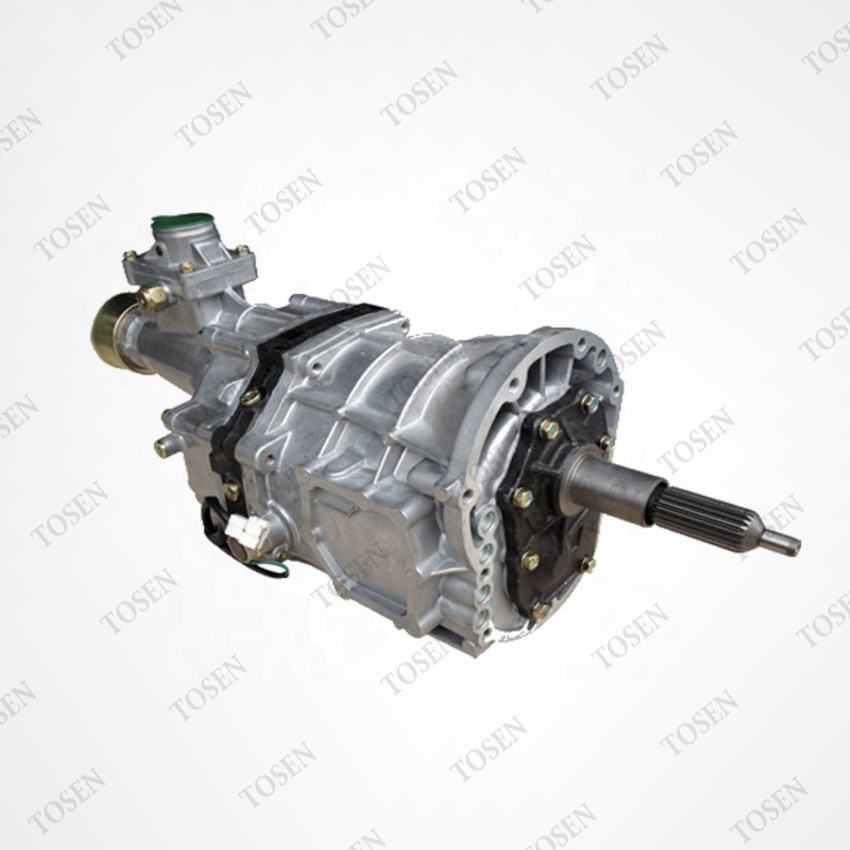
For assembly-level replacements, the ordering discipline is the one that governs every manual gearbox TOSEN supplies: the drive layout, the bellhousing pattern, the input spline and the output arrangement must all be confirmed against the vehicle before the order is confirmed. The manual gearbox assembly for the Toyota Hilux 4×2 shows the pattern — it is supplied as a complete new unit, checked against the bellhousing pattern, input spline and output arrangement before dispatch, with the clutch, the release mechanism and the rear mounting confirmed against the enquiry rather than assumed. Buyers comparing assembly options across Toyota light-commercial drivelines can also browse the wider Manual Transmissions range before preparing the enquiry. For Hiace vans where only one internal component is worn, the individual Hiace 3L and 5L transmission components remain the more economical route, ordered against the gearbox code and the component number rather than the vehicle model name.
From Diagnosis to a Parts Enquiry
Once the noise has been traced to a component and a decision made between an individual part and an assembly, the enquiry itself is what determines whether the correct item ships. For an individual Hiace 3L or 5L component, the enquiry names the gearbox code, the component number or markings taken from the worn part, the tooth and spline counts, the principal dimensions and the quantity, together with photographs of the original part — including both ends where relevant — and the engine family. For a complete assembly, the enquiry carries the vehicle chassis code, the identification printed on the original gearbox label, photographs of the bellhousing and the rear output connection, the destination and the quantity, plus a note of any related components the repair needs alongside the gearbox itself.
Both enquiry types share one rule: selection follows the gearbox actually fitted to the vehicle, not the model name on the van. Distributors and workshops rebuilding Hiace gearboxes can request a sample so the component details are confirmed against the original part before a larger order is placed, which keeps a single mis-ordered component from stalling a whole rebuild schedule.
How do I tell clutch noise from gearbox noise on a Toyota Hiace?
Use the clutch pedal and the gear lever as separators. A noise in neutral that changes character when the pedal is fully pressed points at the clutch-side interface, where the clutch meets the input shaft at the front of the case. A noise tied to one selected gear, or one that persists across every gear and in neutral, points inside the gearbox at the gear wheels, the synchroniser components or the constant-running shafts. Recording the pedal position, the selected gear and the vehicle speed for each noise event gives a workshop the pattern needed to confirm the side.
Which parts inside a Hiace 3L or 5L gearbox can cause noise?
The noise-capable components are the ones inside the manual gearbox case: the input shaft that carries torque from the clutch, the counter gear that transfers drive across the mainshaft, the mainshaft itself, the individual gear wheels and the synchroniser components that match shaft speeds for engagement. A sound tied to a specific ratio implicates the gear wheel at that position, a sound tied to engagement implicates the synchroniser components, and a sound present in every ratio implicates the constant-running shaft group.
When should I order individual gearbox parts instead of a complete gearbox?
Order an individual part when the teardown shows a single worn component and the rest of the unit is serviceable — one synchroniser set, one gear wheel or one shaft justifies a contained repair. Order a complete gearbox assembly when damage spans several positions or the case configuration itself is in question. The individual route is specified by the gearbox code and the component number, tooth count and spline details; the assembly route is specified by the chassis code, the gearbox label and the visible connection points.
What should I include in a Hiace gearbox parts enquiry to TOSEN?
For an individual component, send the gearbox code, the component number or markings from the worn part, the tooth and spline counts, the principal dimensions, the quantity and photographs of the original part including both ends where relevant, plus the engine family, 3L or 5L. For a complete assembly, send the chassis code, the original gearbox label identification, photographs of the bellhousing and rear output connection, the destination and the quantity, and note any related components the repair requires alongside the gearbox.
Tracing a noise on a Hiace 3L or 5L? Record the pedal position and gear for each event, let the workshop confirm the side, then send TOSEN the gearbox code, the component number, the tooth and spline counts and the quantity for a manual transmission parts quotation.