A differential contact pattern inspection tells you where the ring gear and pinion teeth actually touch — the one piece of setup evidence you can read with your own eyes, without instruments, on a unit sitting in a crate. Backlash gives you a number for how much the gears move; the pattern gives you the footprint of where the load rides. Together they are the difference between a differential that runs quiet for years and one that whines from the first week, and the pattern is the half a supplier can photograph before shipping.
The inspection works at two moments: when your workshop takes a reading on a unit in front of you, and when a supplier sends a pattern photo with an order. Both ask the same questions — was the marking compound actually used, were both tooth flanks read, and does the footprint sit where it should? This guide covers the procedure, the pattern shapes and what each one means, how to judge a supplier's photo in seconds, and the buyer checklist that turns all of it into order evidence.
What the Contact Pattern Proves
The contact pattern is the footprint the ring gear and pinion leave on each other. When a thin coat of gear-marking compound is spread on a few ring gear teeth and the mesh is turned, the compound transfers to the pinion teeth and prints exactly where the tooth faces carry load. Axle service references treat that footprint as one of the most valuable tools for judging whether a differential is properly set up — because it shows the result, not the intention.
Backlash tells you how much the gears move before they engage; the pattern tells you where they meet once they do. A unit can hold a backlash number inside the supplier's stated band and still concentrate all its load on one corner of the tooth flank — the number looks fine, the footprint does not, and that corner is where the whine and the pitting start. This is why the two readings belong together: the number without the footprint is half a verdict. The dial-indicator procedure for the number is covered in our backlash symptoms guide; this article stays on the footprint.
The pattern also proves something a listing cannot: that this specific unit was set up, and set up on a matched pair. Gear makers produce the crown wheel and pinion as a matched pair, and the contact pattern is created and checked across cutting, heat treatment and the finishing pass — which is why manufacturers warn never to mix gears between sets. A photograph of a compound-marked footprint therefore belongs to one unit, made one way. That is what turns a pattern from a workshop curiosity into order evidence: a supplier can photograph the footprint of the differential it is about to ship, and you can read it.
How the Pattern Is Taken
A pattern reading needs no dynamometer — it needs marking compound, a way to hold some resistance in the mesh, and a camera. The reading is taken on the assembled unit: pinion installed with its preload set, carrier in the case, backlash within the working range. The point of the exercise is to print the footprint the gears make on each other under load, so every step below serves that one goal. Any reading taken with the gears spinning freely, or with no compound at all, prints nothing useful.
- Clean several ring gear teeth and the matching pinion teeth with a lint-free wipe — compound printed over old oil proves nothing.
- Apply a thin, even coat of gear-marking compound to three or four ring gear teeth. Thin is the operative word: a thick coat smears and hides where the contact actually sits.
- Hold resistance in the mesh — a lever restraining the ring gear, or the brake loaded if the unit is in the vehicle — so the teeth press together as they turn.
- Rotate the pinion in the normal drive direction for one full revolution of the marked teeth. This prints the drive-side pattern: the flank that carries load under acceleration.
- Re-apply compound if needed, then rotate the pinion backward against the same resistance. This prints the coast-side pattern: the flank that carries load on deceleration and overrun.
- Read both footprints where they transferred onto the pinion teeth — position along the flank, and how much of the face is carrying the mark.
- Photograph both patterns before anyone wipes the compound. The photo is the record; the footprint is temporary.
Reading both flanks is what separates a real inspection from a snapshot. The drive side and coast side are different tooth flanks with different load paths, and a set can print an acceptable footprint on the drive side while concentrating its contact badly on the coast side — a whine on the overrun is the classic symptom. That is why a supplier photo showing only one flank answers half the question, whichever half it shows. When you commission a workshop to take a reading, the two photos — drive and coast, both with fresh compound — are the deliverable you want in your file.
Reading the Pattern: Shapes and Causes
Read a footprint along two axes. First, its position along the tooth: each ring gear tooth runs from the toe — the small-diameter end near the carrier center — to the heel at the outer rim. Second, its width across the tooth face: whether the mark spreads over the face or piles onto one edge. A well-set pair prints a mark seated between toe and heel, spread across a healthy share of the face, in the same position on both flanks. The shapes below are the ones that decide orders.
| Pattern shape | Where the mark sits | Likely cause | What it means for you |
|---|---|---|---|
| Centered footprint | Between toe and heel, spread across the face, both flanks consistent | Correct pinion depth, backlash in range, healthy gears | Accept — this is the footprint that backs a 'tested' claim |
| Toe-biased | Bunched toward the small-diameter end of the tooth | Pinion depth too deep for the pair | Correctable by setup — but it must be corrected before shipping, not in your workshop after |
| Heel-biased | Bunched toward the outer rim of the tooth | Pinion depth too shallow | Same as toe bias: a setup correction the supplier should have finished |
| Edge or point contact | Riding one edge or a small dot of the face | Severe mis-setting, worn gears, or a mixed pair | Reject — load concentrated on an edge destroys teeth regardless of the backlash number |
| Wandering mark | The footprint moves around the ring from tooth to tooth | Runout — a bent case, a distorted carrier, or damaged mounting faces | Reject — no shim change averages this away; the unit needs parts, not adjustment |
Two of these shapes deserve the buyer's special attention. Edge contact is the trap of the lone backlash number: the dial indicator can sit inside the stated band while the entire load rides one tooth edge, so the number passes and the axle whines. And a wandering mark is the reason to photograph several teeth, not one: runout hides in single-tooth photos and shows itself only when the footprint drifts around the ring. If a supplier's photo set shows one perfect tooth from one angle, you have learned nothing about runout.
Keep the verdicts positional, not numeric. There is no universal number that makes a pattern 'correct' — the acceptable footprint depends on the gear design, and the numeric half of the judgment is the backlash band the supplier states in writing for your axle line. What you can verify anywhere, with no manual and no instruments, is position and consistency: centered between toe and heel, spread across the face, stable around the ring, matching between flanks. That reading is the same in every workshop and every photo.
Judging a Supplier's Pattern Photo
Gear manufacturers supply contact pattern photos among their inspection deliverables — alongside dimensional reports, hardness records and measurement charts — so asking for one is not an unusual demand; it is normal sourcing practice. What separates evidence from imagery is checkable. Most pattern-photo failures are visible in seconds, and they cluster into the same few patterns: a clean gear with no compound, a single flank presented as the whole story, or a studio-perfect photo that belongs to no unit in particular.
- Marking compound is visible on the teeth — a pattern photo without compound is a photo of a gear, not a reading
- Both flanks are shown or labeled — drive side and coast side, two photos or one labeled pair
- The tooth-count stamp or another unit-identifying detail is in frame, tying the photo to this differential
- The photo belongs to the shipped unit — a stamp, serial or scratch pattern you can re-check on arrival
- The compound looks fresh and the focus is sharp — smudged, over-thick or blurry marks hide exactly what you need to read
The third point is the one that decides disputes. A photo that meets every visual test but belongs to a golden sample — a unit set up once for the camera — proves the supplier can produce a good pattern, not that your differential carries one. Ask the simple binding question: will this photo, with this stamp in frame, ship with my unit? A supplier that sets up and documents each unit can answer yes without hesitation; a trader forwarding catalogue material cannot. If the answer is no, price the order as if no pattern evidence exists — because for your unit, it doesn't.
The Buyer Checklist
The checks above turn into an order only when they are demanded in the right sequence. The evidence chain runs from identity to proof: confirm the tooth counts and ratio against the axle tag first — a pattern on the wrong-ratio unit is a perfect reading of the wrong part — then the axle model, then the setup evidence, then the paperwork that ties it to your order. Our differential ratios guide covers the ratio half of that chain; the pattern half is the list below.
- Demand: a pattern photo that passes the five checks — compound visible, both flanks, stamp in frame, unit-specific, sharp
- Demand: the backlash band in writing, for your axle line — the numeric half of the setup verdict
- Demand: a photo of the tooth-count stamp on the ring gear
- Confirm: the ratio against your axle tag or plate before any payment
- Confirm: your VIN or OE number quoted on the order documents
- On arrival: the stamp on the unit matches the stamp in the photos you approved
- On arrival: the pattern photos correspond to the differential in the crate, not to a sample
- On arrival: the setup record — backlash value and pattern photos — travels with the unit
- On arrival: photograph the crate and packing before unpacking if a claim is conceivable
- Before installation: if your workshop re-checks, record its backlash reading and pattern photos before the unit goes in
The claim rule falls out of the records. If the supplier documented a centered pattern and a backlash band, and your installer's fresh readings contradict them on the day of installation, the setup fault is provable and the conversation is short. If neither side recorded anything, a whine that appears after a few hundred kilometers becomes an argument about installation quality that no one can win. The five demands above are not bureaucracy; they are the difference between a claim and an opinion. The same logic sets the buying route: a workshop that can take and read patterns itself can make a gear set economical, while a general repair shop is better served by a complete assembly whose setup was documented at the factory — the differential assemblies route versus ordering differential parts and setting them up yourself.
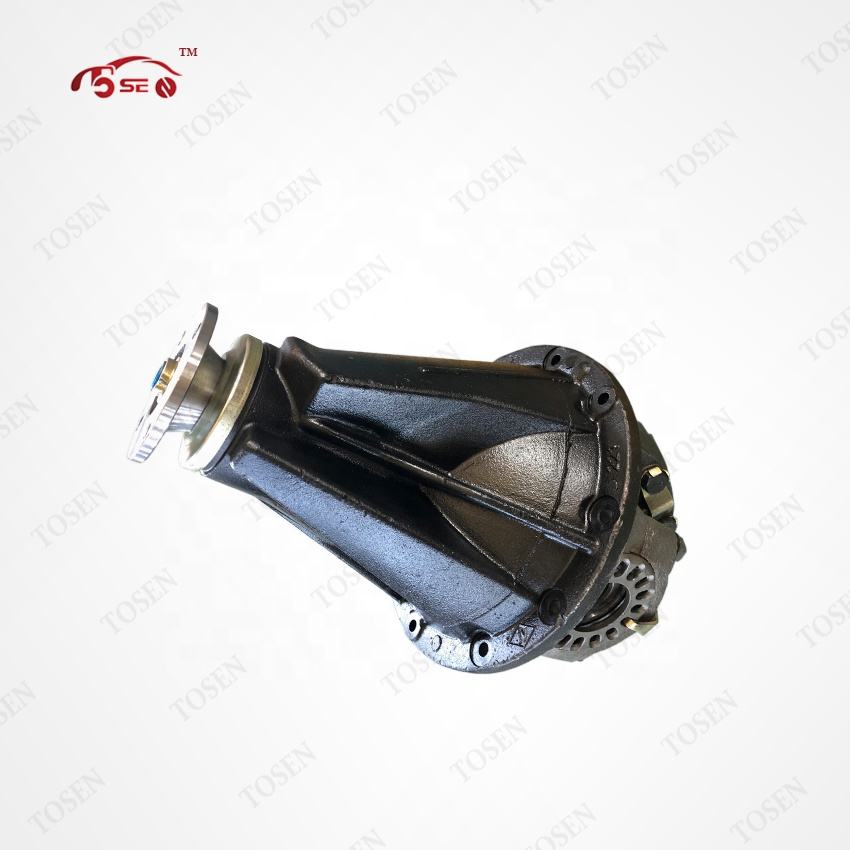
Documented setup is a real, purchasable thing, not a slogan. Our Differential 10 41 for Toyota, for example, ships with backlash and tooth-contact pattern set to OEM spec, bearing preload set with new bearings, and every assembly run-in and noise-checked before dispatch — which is exactly the class of evidence this checklist asks any supplier to produce. Confirm fitment on the product page or the matching category before you order.
Frequently Asked Questions
Can I check the contact pattern without removing the differential from the axle?
On many axles, partially. If the inspection cover comes off, you can coat the ring gear teeth, rotate the wheels or driveshaft with the driveline loaded, and read the transferred mark — a workshop check, not a full setup verification. Interpreting it still follows the same shape rules: position between toe and heel, and consistency across the ring.
Is one good pattern photo enough evidence for a multi-unit order?
It depends on what the photo represents. A pattern documented for the specific unit in each crate is the strong form; for batch shipments, ask which units carry their own photos and setup values, and how the batch is sampled. The binding question stays the same: can the photo and its stamp be matched to the crate you receive?
Which flank whines if only the coast-side pattern is wrong?
The coast side carries load on deceleration and overrun, so a bad coast-side footprint shows up as a whine when you lift off the throttle — often vanishing under power. A drive-side fault does the opposite: noise under acceleration that quiets when you coast. Two photos, two flanks, two different symptoms.
Can the backlash be in spec while the contact pattern is wrong?
Yes, and that combination is the expensive one. Backlash measures total play between the gears, not where the load sits. A dial indicator can read inside the supplier's band while the footprint rides a tooth edge or wanders with runout — which is why the number and the photo must travel together.
Do I still need pattern evidence if I buy a complete differential assembly?
Yes — documented setup is precisely what you are paying the premium for. A complete assembly should arrive with its pattern photos, the recorded backlash value, and the preload built in, so your workshop installs a unit whose setup is already proven. An assembly without that documentation is a gear set in a bigger box.
Who pays if the differential whines after installation?
The records decide, not the argument. If the supplier's pre-shipment pattern photo and written backlash band are contradicted by your installer's same-day readings, the setup fault is on the supplier's side. If no readings exist on either side, the cause — supplier setup or installation — cannot be proven, and the dispute usually splits the cost unwillingly.
From a Readable Footprint to a Confirmed Order
The contact pattern is the only piece of differential setup evidence you can judge with your own eyes — no instruments, no manual, no trust required. You now know how a reading is taken, what a centered footprint looks like against the shapes that should stop an order, and the five checks that separate a real supplier photo from a picture of a gear. Run the demand list before payment, the arrival list before installation, and the pattern travels with your order file from quotation to claim. When you are ready to order, confirm fitment the same way: quote your axle tag or tooth-count photo and your VIN or OE number on the product page or the differential category, and ask for the setup record with the same five checks.
Use the buyer checklist on your next order: demand the pattern photo, the written backlash band and the tooth-count stamp, then confirm fitment for your axle on the differential assemblies and parts categories or the matching product page.